 Horse Epoxy Philippines
• Globe (+63) 0956-162-0275
•
Smart (+63) 0968-348-4175
Horse Epoxy Philippines
• Globe (+63) 0956-162-0275
•
Smart (+63) 0968-348-4175

 Horse Epoxy Philippines
• Globe (+63) 0956-162-0275
•
Smart (+63) 0968-348-4175
Horse Epoxy Philippines
• Globe (+63) 0956-162-0275
•
Smart (+63) 0968-348-4175
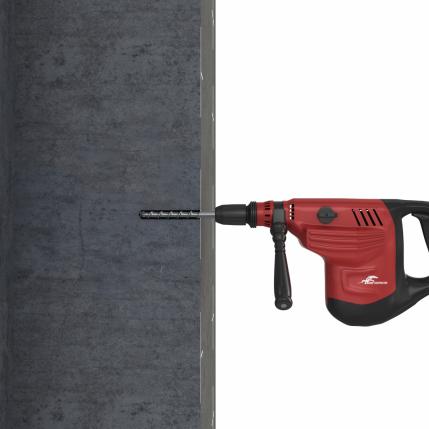
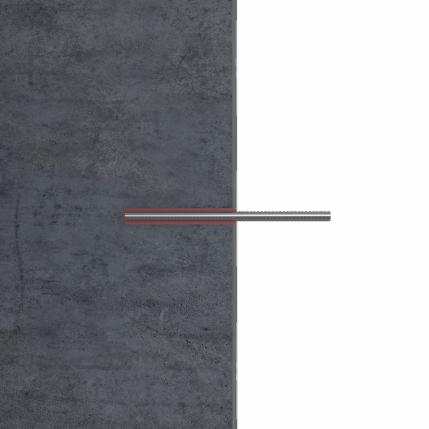
Drill the hole based on the correct diameter and anchoring depth stated on technical data sheet to ensure and meet the expected pull-out strength.
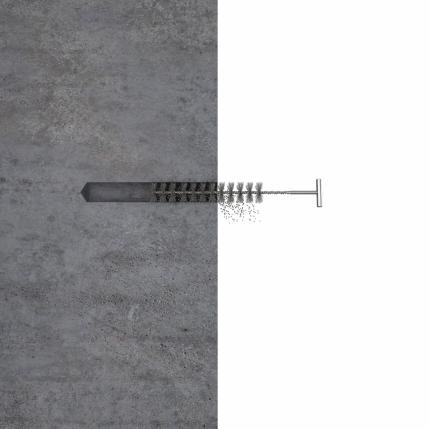
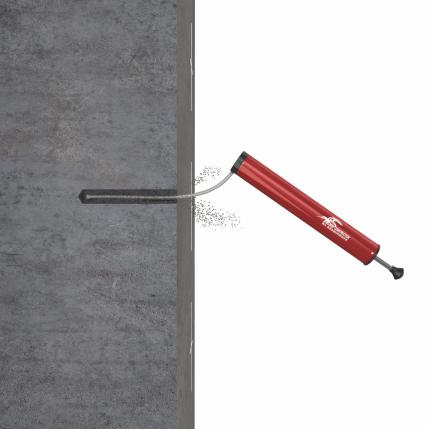
Make sure to clean the hole before Injecting the chemical adhesive to prevent affecting the strength of bond. Use steel brush and air pump to clean debris, repeat cleaning process at least 4 to 5 times.
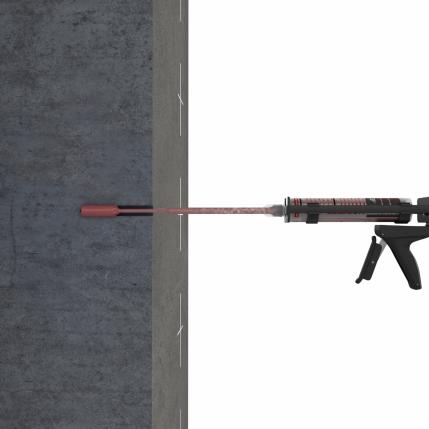
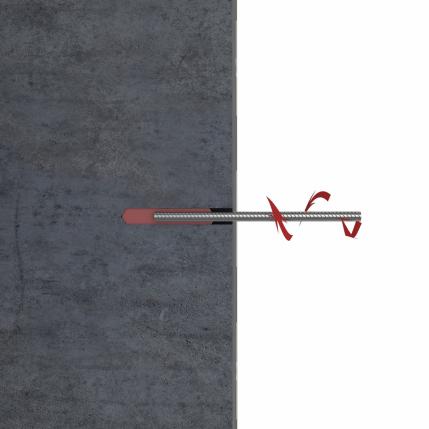
Horse HM-500 is equipped with a special static mixer and dispenser. Recommended volume of injected adhesive is 2/3 the hole depth.
Insert the steel bar or threaded rod bolt slowly in one single direction until it reaches the bottom part of the drilled hole.
Note:
1.For RUSTED Steel Bar or Bolt, Make sure to polish first before application since this may affect the bonding strength.
2. Horse hm-500 is compatible with screw, threaded rod, round steel bar,lead screw, anti-crack anchor and etc.
Avoid moving the steel bar / bolt or applying load during curing time.